
True Metrix Glucose Meter Manual: A Comprehensive Guide
This manual details the True Metrix glucose meter, covering setup, testing procedures, data management, and troubleshooting․ It includes information on test strips, error codes, and meter maintenance, ensuring accurate diabetes self-management․ Refer to included documents like the Owners Booklet (Re4tvh03r52) for detailed guidance․
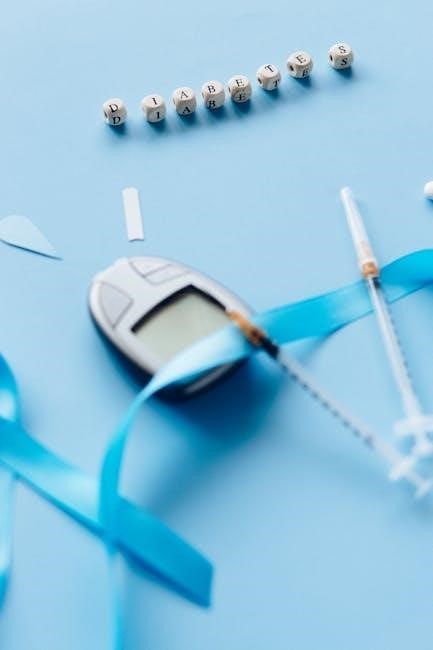
The True Metrix meter is a vital tool for individuals managing diabetes, offering a convenient and accurate way to monitor blood glucose levels at home․ This meter, manufactured by METRIX, is designed for ease of use and reliable results, empowering users to make informed decisions about their health․ It’s more than just a device; it’s a partner in proactive diabetes care․
This guide provides a comprehensive overview of the True Metrix system, encompassing everything from initial setup and testing procedures to data interpretation and troubleshooting․ Understanding the meter’s features and functionalities is crucial for obtaining accurate readings and effectively managing your condition․ The True Metrix system includes the meter itself, test strips, a lancing device, and lancets – each component playing a critical role in the testing process․
Key features include its user-friendly interface, fast testing times, and minimal sample size requirements․ The meter’s memory capabilities allow for tracking glucose trends over time, aiding in personalized diabetes management; Referencing the Owners Booklet (Re4tvh03r52) alongside this guide will provide a complete understanding of your True Metrix meter and its capabilities․
Understanding the Meter Components
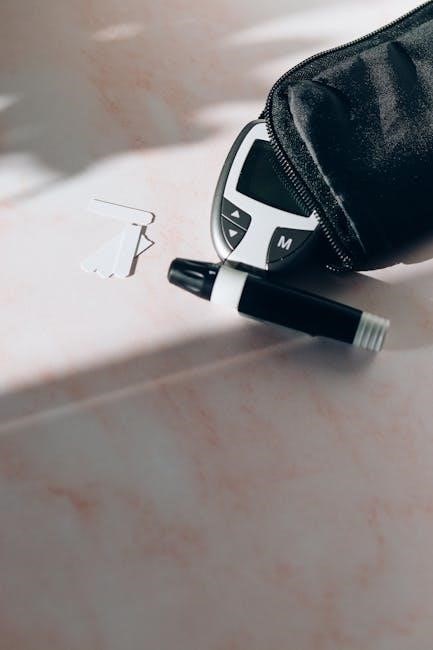
The True Metrix system comprises several key components working in harmony to deliver accurate glucose readings․ The meter itself features a display screen for viewing results, buttons for navigation and operation, and a test strip port․ Understanding each element is crucial for proper usage․
Test strips are single-use consumables that react with the blood sample to determine glucose concentration․ These strips are specifically designed for the True Metrix meter and must be used within their expiration date for reliable results․ The lancing device, with its adjustable depth settings, facilitates a comfortable and controlled blood draw using a lancet․
Lancets are small, sterile needles used to obtain the blood sample․ They are single-use only to prevent infection and ensure accuracy․ Additionally, the meter requires batteries for operation; battery information is detailed in a dedicated section of this manual․ Proper handling and understanding of each component, as outlined in the Owners Booklet (Re4tvh03r52), are essential for optimal performance and accurate self-monitoring․
Setting Up Your True Metrix Meter
Initial setup of your True Metrix meter is straightforward, ensuring quick and accurate glucose monitoring․ First, insert the appropriate batteries into the designated compartment, observing correct polarity․ The meter will then perform a self-check, displaying system information on the screen․
Next, set the current date and time․ Accurate time-stamping is vital for tracking glucose trends and correlating readings with meals and activities․ The meter’s memory function relies on correct date and time settings for effective data recall․ Refer to the Owners Booklet (Re4tvh03r52) for specific instructions on navigating the menu and adjusting these settings․
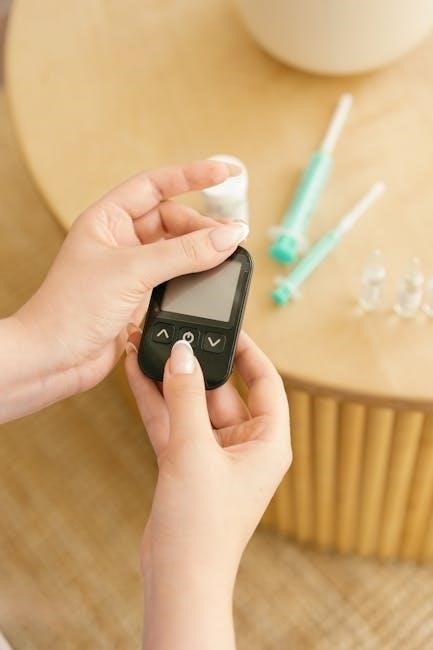
Before performing your first test, familiarize yourself with the button functions – typically including power, start/stop, and memory recall․ Ensure the meter is compatible with the specific True Metrix test strips you intend to use․ Finally, confirm the meter displays no error messages before proceeding with testing․ Proper setup, as detailed in the provided documentation, is fundamental for reliable results․
Test Strip Information and Usage
True Metrix test strips are specifically designed for use with the True Metrix glucose meter, ensuring accurate and reliable blood glucose readings․ These strips utilize advanced biosensor technology to react with the blood sample, generating an electrical current proportional to glucose concentration․ Always check the expiration date on the vial before use; expired strips can yield inaccurate results․
Proper storage is crucial for maintaining strip integrity․ Keep the vial tightly closed, in a cool, dry place, and away from direct sunlight and heat․ Avoid transferring strips to a different container, as this can expose them to moisture and compromise their performance․ Only use one strip at a time, discarding it immediately after use․
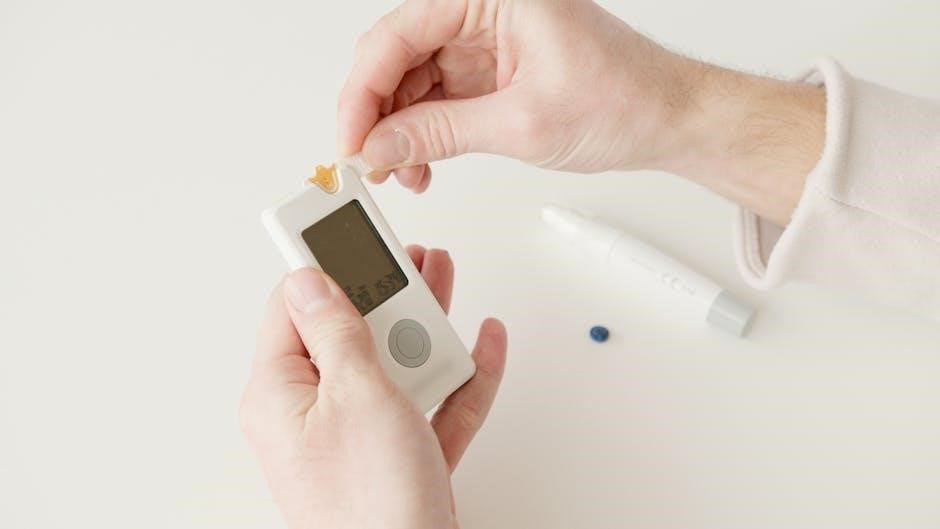
When inserting a strip into the meter, ensure the arrow on the strip aligns with the port direction․ The meter will automatically recognize the strip and prepare for testing․ Refer to the Owners Booklet (Re4tvh03r52) for detailed illustrations and troubleshooting tips regarding strip insertion and recognition issues․
Preparing for a Glucose Test
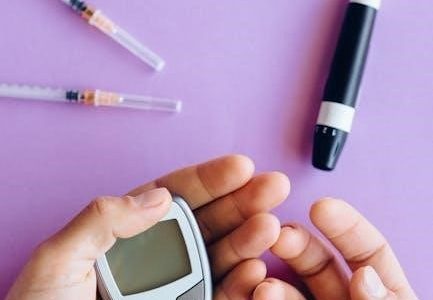
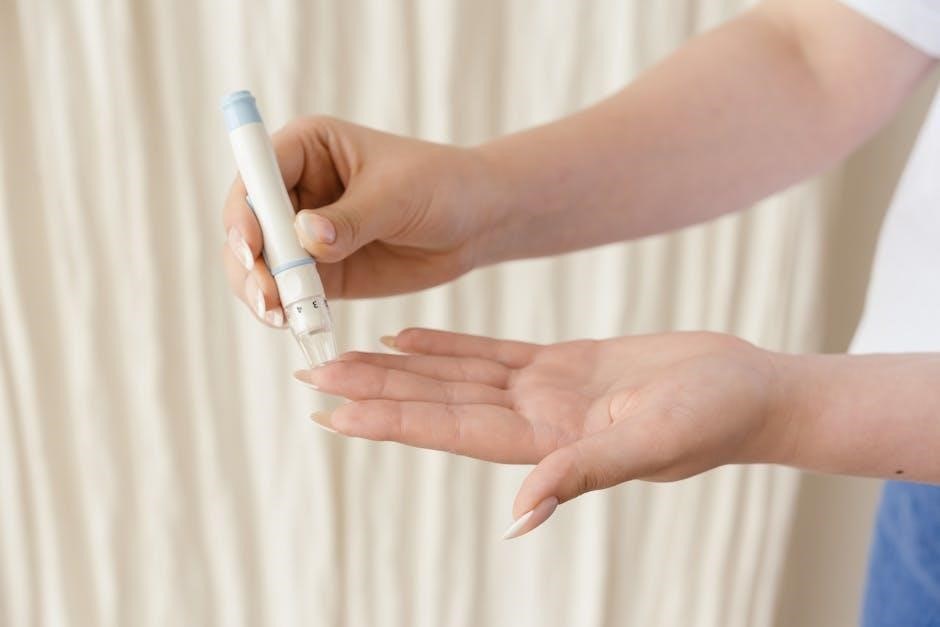
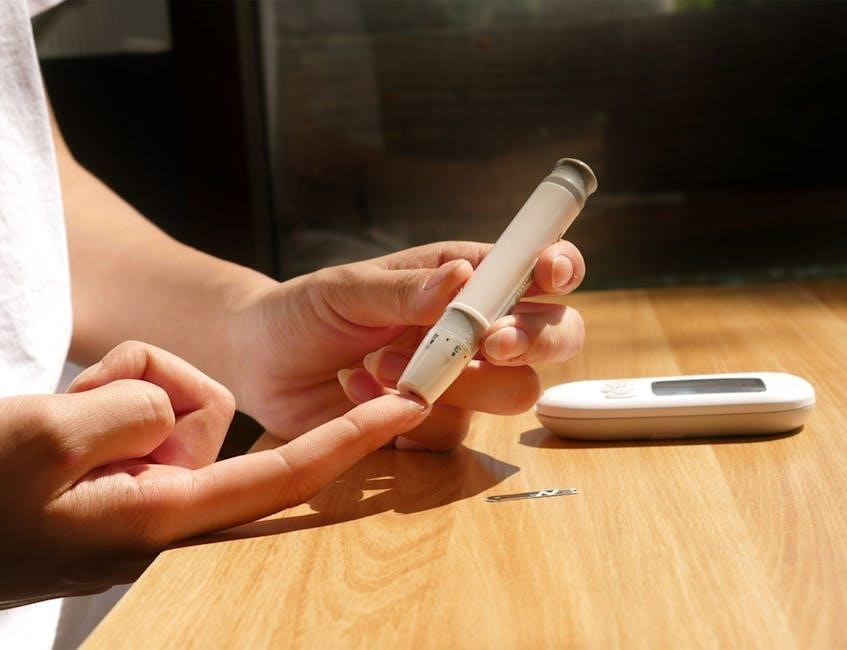
Before performing a glucose test with your True Metrix meter, thorough preparation is essential for accurate results․ Begin by gathering all necessary supplies: the meter, a test strip, a lancing device, lancets, and alcohol swabs․ Wash your hands thoroughly with warm, soapy water and dry them completely․ This removes any potential contaminants that could affect the reading․
Next, prepare the lancing device with a fresh, sterile lancet․ Adjust the depth setting according to your skin type and preference – a shallower setting may be sufficient for softer skin․ Clean the fingertip you intend to use with an alcohol swab and allow it to air dry completely․ Alcohol residue can interfere with the test․
Ensure the meter is turned on and displays a ready signal․ Insert a new test strip into the meter, observing the correct orientation as indicated in the manual (Owners Booklet Re4tvh03r52)․ The meter will now be primed and ready to receive the blood sample․
Performing a Glucose Test: Step-by-Step
Once prepared, gently lance your fingertip with the lancing device․ Avoid squeezing the finger excessively, as this can dilute the blood sample and affect accuracy․ A small drop of blood should form naturally․ If needed, gently massage the finger towards the puncture site․
Carefully bring the blood drop into contact with the designated area on the test strip․ The strip will automatically draw in the required amount of blood – do not apply blood directly to the meter․ Ensure sufficient blood is applied; insufficient samples will result in an error message․
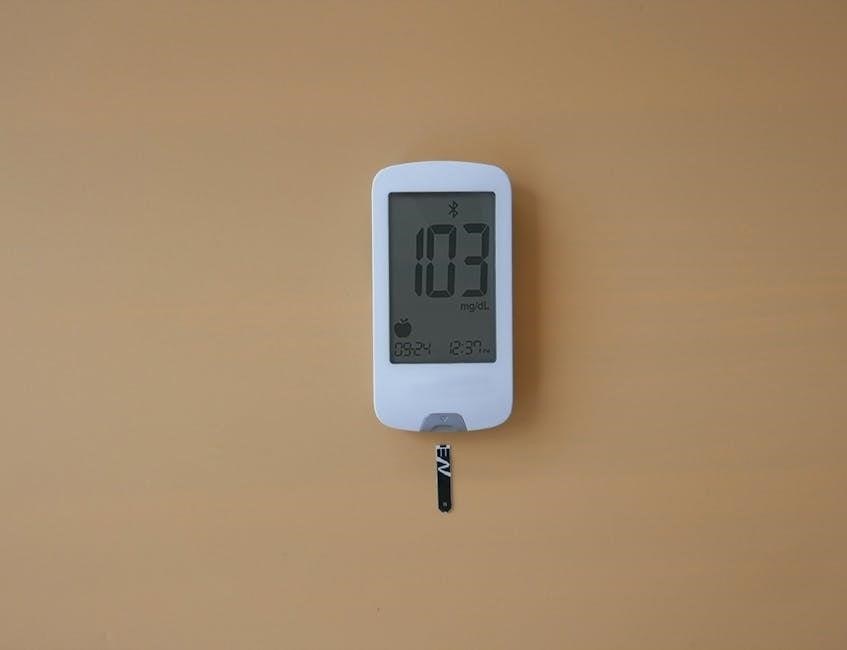
The meter will begin analyzing the sample, displaying a countdown timer during the process․ Remain still and avoid disturbing the meter until the reading is complete․ Once finished, the glucose result will be displayed on the screen․ Record the result in your logbook or within the meter’s memory for future reference (refer to the Owners Booklet Re4tvh03r52 for data recall instructions)․
Understanding Your Glucose Results
Your True Metrix meter displays glucose levels in milligrams per deciliter (mg/dL)․ These readings reflect the amount of glucose present in your blood at the time of testing․ It’s crucial to interpret these results within the context of your individual target ranges, as determined by your healthcare provider․
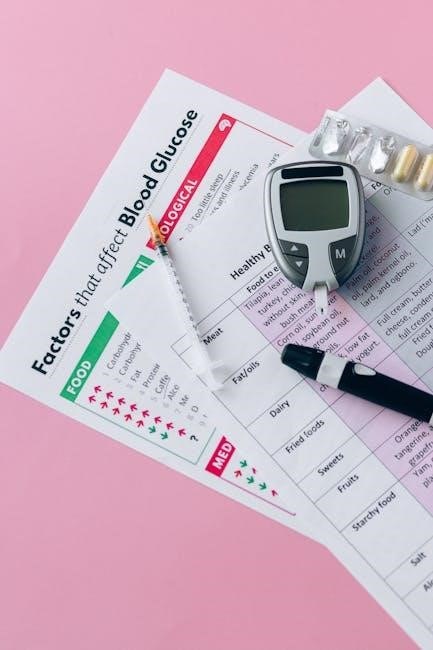
Factors influencing glucose levels include meals, exercise, stress, and medication․ A single reading provides a snapshot, and trends over time are more informative․ Consistent monitoring helps identify patterns and adjust diabetes management strategies accordingly․ Refer to the ‘Target Glucose Ranges’ section for general guidelines, but always prioritize your doctor’s recommendations․
High glucose levels (hyperglycemia) may indicate insufficient medication, overeating, or illness․ Low glucose levels (hypoglycemia) can result from excessive medication, skipped meals, or increased physical activity․ Understanding these factors and their impact on your readings is vital for effective self-management․ Consult your healthcare team for personalized guidance on interpreting your results and adjusting your treatment plan․
Target Glucose Ranges
Generally, target glucose ranges vary based on individual factors like age, diabetes type, and overall health․ However, common guidelines exist for non-diabetic individuals and those managing diabetes․ For most people without diabetes, fasting glucose should be below 100 mg/dL, and two hours after eating, below 140 mg/dL․
For individuals with diabetes, the American Diabetes Association (referenced in provided documents as “Standards of Care in Diabetes, 2024”) typically recommends a fasting glucose range of 80-130 mg/dL․ Two hours postprandial (after meal) targets are usually less than 180 mg/dL․ These are general recommendations; your healthcare provider will establish personalized targets․
It’s important to note that these ranges are guidelines․ Your doctor may adjust them based on your specific needs and circumstances․ Regular monitoring with your True Metrix meter, coupled with professional guidance, is essential for maintaining optimal glucose control․ Always discuss your target ranges and any concerns with your healthcare team․
Meter Memory and Data Recall
The True Metrix meter stores glucose readings, allowing you to track your results over time․ This feature aids in identifying patterns and understanding how diet, exercise, and medication affect your blood glucose levels․ The meter’s memory capacity varies depending on the model, but generally stores a significant number of readings – often exceeding 500․
To access stored data, use the meter’s navigation buttons․ Typically, you can scroll through previous readings, view average glucose levels (often 7, 14, or 30-day averages), and potentially see the time and date of each test․ Refer to the “True Metrix Owners Booklet Re4tvh03r52” for specific instructions tailored to your meter model․
Data recall is crucial for effective diabetes management․ Regularly reviewing your glucose history helps you and your healthcare provider make informed decisions about your treatment plan․ Some meters may also allow data transfer to computers or smartphones for more detailed analysis and reporting, enhancing long-term monitoring capabilities․
Error Codes and Troubleshooting
The True Metrix meter displays error codes to indicate potential problems during testing․ These codes help identify issues ranging from test strip errors to meter malfunctions․ Common errors include strip errors (indicating improper insertion or a faulty strip), insufficient sample size, or meter system errors․
When an error code appears, consult the “True Metrix Owners Booklet Re4tvh03r52” for a detailed explanation of the specific code and recommended troubleshooting steps․ Often, simply reinserting the test strip or ensuring a sufficient blood sample resolves the issue․ However, persistent errors may indicate a more serious problem․
Troubleshooting steps may involve checking the battery, verifying the test strip expiration date, and ensuring the meter is clean and properly maintained․ If errors continue despite troubleshooting, contact True Metrix customer support for assistance․ Do not attempt to disassemble or repair the meter yourself, as this could void the warranty and potentially cause harm․ Accurate error identification is key to reliable glucose monitoring․
Maintaining Your True Metrix Meter
Regular maintenance ensures the accuracy and longevity of your True Metrix glucose meter․ Keep the meter clean by wiping it with a slightly damp cloth after each use, avoiding harsh chemicals or abrasive cleaners․ Do not immerse the meter in water or any other liquid․
Proper storage is crucial; store the meter in a cool, dry place, away from extreme temperatures and direct sunlight․ Avoid dropping or subjecting the meter to strong impacts․ Refer to the “Operation Manual” and “Reprocessing Manual” for detailed cleaning and disinfection instructions, especially if the meter is shared․
Quality control checks, using control solutions, should be performed periodically to verify the meter’s accuracy․ These solutions help confirm that the meter and test strips are working correctly․ Always follow the instructions provided with the control solution․ Consistent maintenance, as outlined in the documentation, is vital for reliable glucose readings and effective diabetes management․
Battery Information and Replacement
The True Metrix glucose meter operates on standard batteries, ensuring portability and convenience․ Monitor the battery indicator on the meter’s display; a low battery symbol signals the need for replacement․ Use only high-quality batteries of the correct type, as specified in the owner’s booklet (Re4tvh03r52)․
To replace the batteries, locate the battery compartment – instructions are detailed in the “Operation Manual”․ Carefully remove the old batteries and insert new ones, observing the correct polarity (+ and -)․ Ensure the battery compartment is securely closed after replacement․
Dispose of used batteries responsibly, following local regulations for battery recycling․ Do not attempt to recharge non-rechargeable batteries․ A weak battery can affect the accuracy of glucose readings; therefore, prompt replacement is essential for reliable results․ Regular battery checks contribute to consistent meter performance and accurate self-monitoring․
Reprocessing and Cleaning the Meter
Maintaining a clean True Metrix glucose meter is crucial for accurate results and preventing infection․ Refer to the “Reprocessing Manual” and the “Addendum to the Operation and Reprocessing Manual” for detailed instructions – documents referenced as RF3TVH03r53 and others․ These guidelines outline proper disinfection procedures․
Before cleaning, ensure the meter is switched off․ Use a soft, slightly damp cloth with a mild detergent to wipe the exterior surfaces․ Avoid harsh chemicals, abrasive cleaners, or excessive moisture, which can damage the meter․ Never immerse the meter in water or any other liquid․
Pay particular attention to the test strip port, gently removing any debris․ Allow the meter to dry completely before inserting new test strips․ Regular cleaning, as per the provided manuals, minimizes the risk of contamination and ensures reliable performance․ Following these steps supports accurate glucose monitoring and overall meter longevity․
Quality Control Checks
Performing regular quality control checks with your True Metrix glucose meter is essential to verify its accuracy and ensure reliable results․ While the provided documentation doesn’t explicitly detail built-in checks, consistent monitoring of performance against expected values is vital․
Consider using control solutions – solutions with known glucose concentrations – to test the meter’s functionality․ Compare the meter’s reading of the control solution to the value stated on the control solution’s vial․ Significant discrepancies may indicate a problem with the meter, test strips, or testing technique․
Document these quality control checks, noting the date, control solution value, and meter reading․ If results consistently fall outside the acceptable range, contact True Metrix support or consult your healthcare provider․ Remember, quality control isn’t a substitute for regular meter maintenance and proper testing procedures, as outlined in the comprehensive manual․
True Metrix Meter and Diabetes Management
The True Metrix glucose meter is a valuable tool for individuals managing diabetes, facilitating informed decisions about diet, exercise, and medication․ Regular glucose monitoring, enabled by the meter’s features, helps maintain target blood glucose ranges and minimize long-term complications․
Utilize the meter’s memory function to track glucose readings over time, identifying patterns and trends․ Share this data with your healthcare provider during appointments to optimize your diabetes management plan․ Remember, the meter provides data points; interpretation requires professional guidance․
Combine meter readings with knowledge of carbohydrate intake, physical activity, and stress levels to understand how these factors impact your glucose levels․ Refer to resources like the “Standards of Care in Diabetes ⎯ 2024” (referenced in documentation) for current best practices․ Consistent self-monitoring empowers proactive diabetes self-management, improving overall health and well-being․
Frequently Asked Questions (FAQ)
Q: What does an error code mean? Refer to the manual’s troubleshooting section for a comprehensive list of error codes and their corresponding solutions․ Q: Can I reuse test strips? No, test strips are for single use only to ensure accurate results․ Q: How often should I perform quality control checks? Regularly, as outlined in the manual, to verify meter and strip functionality․
Q: How do I recall stored readings? Utilize the meter’s memory function, following the steps detailed in the manual’s data recall section․ Q: What if my results seem inaccurate? Ensure proper testing technique, check strip expiration, and perform a quality control check․ Q: Where can I find additional support? Consult the warranty information for contact details and support resources․
Q: Is the meter compatible with other test strip brands? No, use only True Metrix test strips for accurate readings․ Q: How do I clean and maintain the meter? Follow the cleaning instructions in the manual to ensure longevity and accuracy․ Q: What is the meter’s operating temperature range? Refer to the specifications section within the documentation․
Warranty Information and Support
True Metrix meters are covered by a limited warranty against defects in materials and workmanship․ The warranty period typically begins from the date of purchase, as detailed in the included warranty card or documentation․ This warranty does not cover damage resulting from misuse, accidents, or unauthorized modifications․
For warranty claims or support inquiries, contact the manufacturer directly using the contact information provided within the manual or on their official website․ Customer support can assist with troubleshooting, error codes, and general product questions․ Online resources, including FAQs and downloadable manuals (like Re4tvh03r52), are also available․
Please retain your proof of purchase for warranty validation․ The manufacturer may require it for processing any claims․ Additional support may be found through diabetes education programs and healthcare professionals․ Refer to the documentation for specific warranty terms and conditions, and available support channels․