

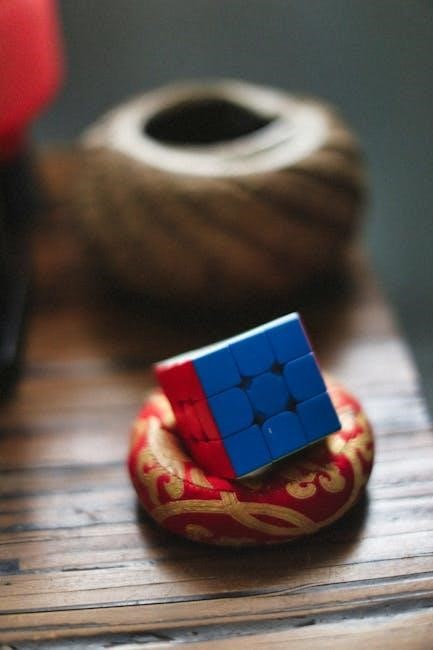
The Rubik’s Cube, a globally recognized puzzle, presents a stimulating challenge, especially during times of isolation, captivating minds since its 1970s inception.
Historical Background and Invention
The Rubik’s Cube’s story began in 1974 with Ernő Rubik, a Hungarian sculptor and professor of architecture. Initially conceived as a teaching tool to help students understand 3D spatial relationships, it wasn’t immediately intended as a puzzle.
Rubik struggled to restore the scrambled cube himself, realizing its potential as a challenging game. Patented in 1975, it was initially released in Hungary in 1977, gaining international recognition in 1980.
The Cube’s Popularity and Cultural Impact
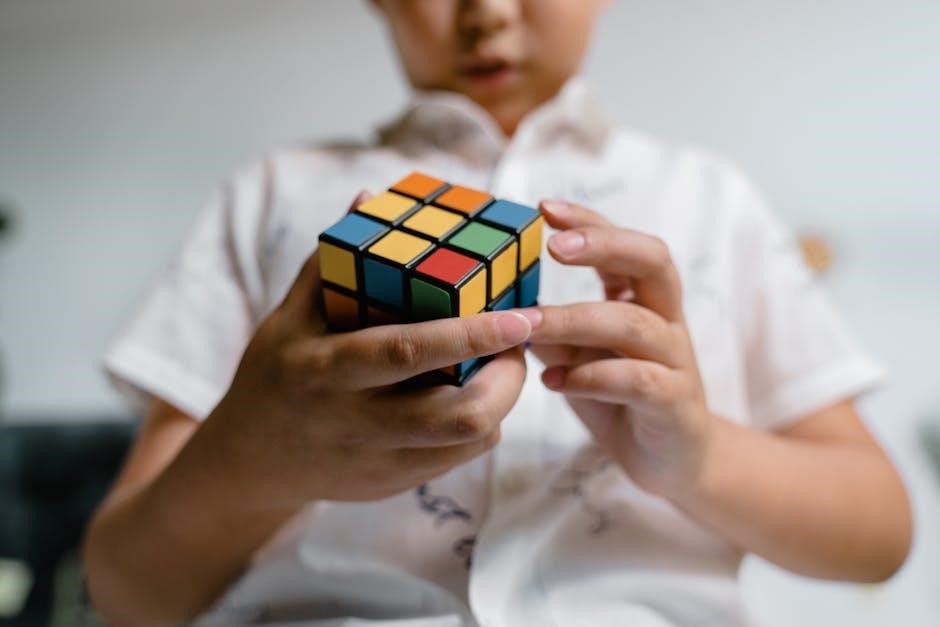
The Rubik’s Cube exploded into a global phenomenon in the 1980s, becoming a symbol of intelligence and problem-solving. It sparked a worldwide craze, with over 100 million cubes sold between 1980 and 1982 alone.
Its influence extended beyond gameplay, appearing in films, television, and art. During recent pandemic lockdowns, the cube experienced a resurgence in popularity, offering a stimulating activity for those at home.
Understanding the Cube’s Anatomy
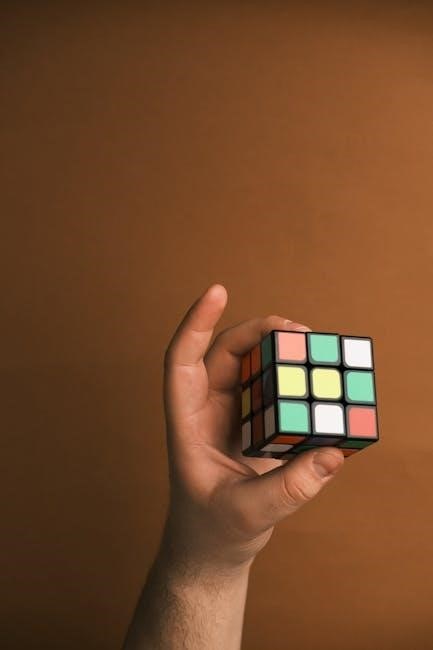
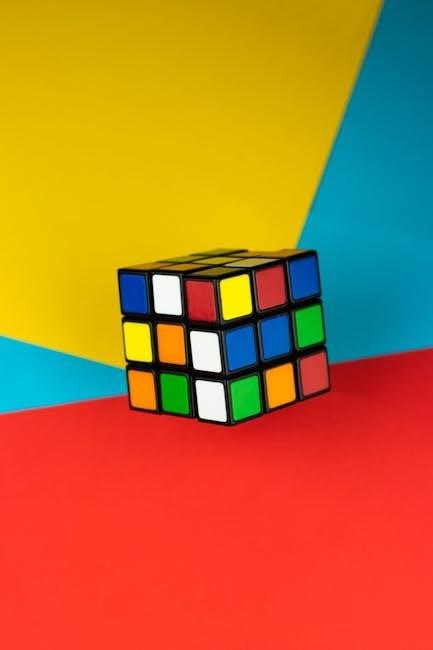
The cube consists of distinct pieces: centers, edges, and corners, each playing a crucial role in solving the puzzle’s complex arrangement.
Cube Pieces: Centers, Edges, and Corners
The Rubik’s Cube is comprised of three types of pieces: center, edge, and corner. Center pieces define each face’s color and remain fixed relative to each other, serving as the color scheme’s anchor. Edge pieces possess two colors and reside between corner pieces, requiring precise positioning. Corner pieces, with three colors, occupy the cube’s corners and complete the puzzle’s visual structure.
Notation: Defining Cube Moves (F, B, R, L, U, D)
Standard Rubik’s Cube notation utilizes letters to represent face turns: F (Front), B (Back), R (Right), L (Left), U (Up), and D (Down). A letter alone signifies a clockwise 90-degree turn. Adding an apostrophe (‘) denotes a counter-clockwise turn. A ‘2’ after the letter indicates a 180-degree turn. Mastering this notation is crucial for understanding and executing algorithms effectively.
Layers and Their Importance
The Rubik’s Cube is fundamentally structured in three layers. Solving typically proceeds layer by layer, beginning with the first, then the second, and finally, the last. Each layer’s completion builds upon the previous one, creating a structured solving process. Understanding layer dependencies is vital; incorrect moves can disrupt already solved sections.

Beginner’s Method: Solving the First Layer
Initiating the solve involves creating a white cross, followed by correctly inserting the white corner pieces, establishing a solid foundation for subsequent layers.
Solving the White Cross
The initial step in mastering the Rubik’s Cube is forming the white cross on the top face. This involves strategically maneuvering the white edge pieces into their correct positions, aligning them with the corresponding center colors.
Begin by bringing the white edges to the bottom layer, then lifting them to the top while ensuring color matching. Patience and careful observation are key, as this foundational step dictates the ease of solving subsequent layers.
Focus on one edge at a time, rotating the faces to achieve proper alignment, and remember to maintain the solved portions as you progress.
Inserting the White Corners
With the white cross established, the next challenge is inserting the white corner pieces correctly. Locate a white corner piece on the bottom layer and position it directly below its intended slot on the top layer.
Utilize specific algorithms – sequences of moves – to bring the corner piece up and into place, ensuring the side colors also match their respective centers.
Repeat this process for all four white corners, patiently applying the algorithms until the entire first layer is solved.
Solving the Second Layer
Focus shifts to inserting edge pieces into the middle layer, requiring identification and precise algorithms to position them correctly between the solved layers.
Identifying Edge Pieces for the Second Layer
Locating the correct edge pieces for the second layer involves searching the top layer for pieces that do not contain yellow. These pieces will have two colors, and one of those colors must match a center piece on the middle layer.
Carefully examine each edge piece; if it has yellow, it belongs in the top layer. Once a suitable edge piece is found, determine its destination slot based on the matching center color.
This process requires visualizing how the piece will fit into the second layer, ensuring the colors align correctly with the adjacent center pieces.
Inserting Second Layer Edges
Once an appropriate edge piece is identified, position it above its destination slot in the middle layer. Two primary algorithms exist, depending on whether the piece needs to move to the left or right.
For a left insertion, use a specific sequence of moves, while a right insertion requires a different, but related, algorithm.
Execute the algorithm precisely, and the edge piece will seamlessly slot into its correct position within the second layer, progressing your solve.
Solving the Yellow Cross
Orienting and permuting yellow edges are key steps. Algorithms manipulate these pieces, forming a yellow cross on the top face, advancing the solution.
Orienting Yellow Edges
Successfully orienting the yellow edges involves strategically applying algorithms to flip them until the yellow side faces upwards. This stage doesn’t focus on their final positions, only their correct orientation; Several cases arise, each requiring a specific sequence of moves.
Recognizing these patterns is crucial for efficient solving. Mastering these algorithms builds a foundation for more complex steps, bringing you closer to a fully solved cube. Patience and practice are essential for consistent success.
Permuting Yellow Edges
Once the yellow edges are correctly oriented, the next step is permutation – positioning them accurately around the yellow face. This involves identifying the current arrangement of edges and applying algorithms to cycle them into their solved locations.
Different edge configurations necessitate distinct algorithms, demanding pattern recognition and precise execution. Successfully permuting the edges brings the cube closer to completion, requiring focus and methodical application of learned sequences.
Orienting the Yellow Corners
Correctly orienting the yellow corners is crucial, utilizing specific algorithms to twist them into the right position, preparing for the final permutation stage.
Algorithms for Orienting Yellow Corners
Mastering corner orientation demands learning specific algorithms, repeated until all yellow corners face upwards. A common sequence is R U R’ U R U2 R’, effectively twisting a single corner.
Recognize that multiple repetitions might be needed for each corner, and understanding the algorithm’s impact on other pieces is vital. Careful execution prevents disruption of solved sections. Practice these sequences diligently to build muscle memory and speed.
Remember to maintain cube stability during execution, avoiding forceful movements that could cause popping.
Recognizing Corner Orientations
Identifying corner orientations is crucial before applying algorithms. Observe each yellow corner; does the yellow sticker face right, front, or up? This determines the necessary algorithm repetitions.
Corners can be correctly oriented, flipped once, or flipped twice. A systematic approach – checking each corner individually – prevents errors. Visualize how the algorithm affects each corner’s orientation.
Practice identifying orientations quickly; this skill significantly improves solving speed and accuracy.

Permuting the Yellow Corners
Correctly positioning the yellow corners requires specific algorithms, swapping corners while maintaining their orientation, bringing the cube closer to completion.
Algorithms for Permuting Yellow Corners
Permuting yellow corners involves a set of algorithms designed to cycle corners into their correct positions without altering their orientation. A common algorithm is R U’ L’ U R’ U’ L, which cycles three corners clockwise.
Another frequently used algorithm, U R U’ L’ U R’ U’ L, performs a counter-clockwise cycle. Recognizing the current corner permutation is crucial for selecting the appropriate algorithm. Practice these sequences repeatedly to build muscle memory and speed.
Understanding how each algorithm affects the corners allows for efficient problem-solving and faster solve times. These algorithms are foundational for completing the Rubik’s Cube.
Final Step: Completing the Cube
After correctly orienting and permuting the yellow corners, the Rubik’s Cube is nearly solved! This final stage often involves subtle adjustments to the top layer, ensuring all colors align perfectly. Careful execution of the last few moves is vital.
Double-check each face to confirm complete color matching. A satisfying click often accompanies the final turn, signifying a successful solve.
Practice and patience are key to mastering this final step, transforming a scrambled puzzle into a vibrant, solved cube.
Advanced Techniques and Methods
Beyond the beginner’s method, techniques like CFOP and Roux offer faster solving. These methods require memorizing numerous algorithms and look-ahead skills.
CFOP (Fridrich) Method Overview
The CFOP method, also known as the Fridrich method, is a highly popular speedcubing technique. It breaks down the solve into four distinct steps: Cross, F2L (First Two Layers), OLL (Orient Last Layer), and PLL (Permute Last Layer).
Each step involves learning a set of algorithms – sequences of moves – to efficiently manipulate the cube. Mastering CFOP requires significant memorization and practice, but it allows for incredibly fast solve times. It’s a cornerstone for competitive speedcubers aiming for sub-10 second solves.
Roux Method Overview
The Roux method is another advanced speedcubing technique, distinguished by its block-building approach. It focuses on building blocks instead of layers, prioritizing intuitive moves over extensive algorithm memorization. Roux solvers typically build a 1x2x3 block, then a second, before orienting and permuting the remaining corners.
This method emphasizes look-ahead and reduces reliance on pre-defined algorithms, fostering a deeper understanding of cube mechanics. It’s favored by those who prefer a more intuitive and less memorization-heavy solving style.
Speedcubing: Optimizing Your Solve
Speedcubing involves refining techniques like look-ahead and finger tricks to dramatically reduce solve times, demanding precision, efficiency, and dedicated practice.
Look-Ahead Techniques
Mastering look-ahead is crucial for speedcubing, involving predicting subsequent moves during the execution of the current one. This minimizes pauses between algorithms, creating a fluid solve.
Beginners often focus solely on the immediate step, but advanced solvers scan the cube while turning, identifying pieces and planning the next sequence. It requires extensive practice and pattern recognition.
Effective look-ahead isn’t about seeing the entire solution, but anticipating the next few steps, building momentum and reducing hesitation. It’s a skill honed through repetition and focused training.
Finger Tricks and Efficiency
Efficient finger tricks are paramount for rapid cube manipulation, minimizing hand movements and maximizing turning speed. These involve using specific finger combinations to execute algorithms smoothly and quickly.
Learning regrips – transitioning hand positions – efficiently is also vital. Smooth regrips prevent pauses and maintain solve flow. Practice these movements until they become second nature.
Optimizing hand motions reduces wasted energy and improves overall solve time. Consistent practice and analyzing solves identify areas for improvement in finger technique and efficiency.
Resources for Learning and Practice
Numerous online tutorials and vibrant speedcubing communities offer guidance, algorithms, and support for learners of all levels, fostering skill development.
Online Tutorials and Websites
A wealth of digital resources exists for aspiring cubers! Websites dedicated to the Rubik’s Cube provide step-by-step guides, beginner methods, and advanced techniques. YouTube channels showcase visual learners with clear demonstrations of algorithms and solving strategies.
Many platforms host interactive simulators, allowing practice without a physical cube. Online workshops, like those offered recently, provide structured learning experiences. Dedicated forums connect cubers globally, fostering collaboration and knowledge sharing. These resources democratize access to cube-solving education, making it easier than ever to learn.
Speedcubing Communities and Forums
Engaging with the speedcubing community significantly enhances the learning journey! Online forums serve as vibrant hubs where enthusiasts exchange tips, algorithms, and troubleshooting advice. These platforms foster a collaborative spirit, allowing cubers of all levels to connect and learn from each other’s experiences.
Dedicated communities often organize virtual competitions and share resources for optimizing solve times. Participating in these forums provides valuable feedback and motivation, accelerating skill development and fostering a passion for the art of speedcubing.
Cube Maintenance and Care
Regular lubrication and preventative measures are crucial for maintaining a smooth, fast cube. Addressing sticking pieces promptly ensures optimal performance and longevity.
Lubricating the Cube
Maintaining optimal cube performance relies heavily on proper lubrication. Applying a silicone-based lubricant reduces friction between pieces, resulting in smoother, faster turns. Avoid oil-based lubricants, as they attract dust and can hinder movement over time.
A small amount applied to the internal mechanisms is sufficient; excessive lubrication can create a sticky feel. Regularly reapply lubricant, especially with frequent use, to keep your cube operating at its best. This simple step significantly extends the cube’s lifespan and enhances the solving experience.
Preventing and Fixing Sticking Pieces
Sticking pieces often stem from insufficient lubrication or dust accumulation within the cube’s mechanism. Regularly cleaning the cube with a soft cloth and reapplying silicone lubricant are preventative measures.
If pieces remain stuck, avoid forceful manipulation, which could cause damage. Gently wiggle the affected pieces while applying slight pressure. For persistent issues, disassembling the cube (with caution!) allows for thorough cleaning and relubrication, restoring smooth operation and preventing future sticking problems.
Different Cube Variations
Beyond the classic 3×3, cubes exist in 2×2, 4×4, and larger sizes, offering escalating complexity and challenges for experienced cubers to explore.
2×2 Cube
Often called the Pocket Cube, the 2×2 is the simplest Rubik’s Cube variation, consisting of only corner pieces. While seemingly easier, mastering it still requires understanding spatial reasoning and algorithmic thinking. Beginners frequently use it as a stepping stone to the more complex 3×3. Solving involves fewer moves and algorithms compared to larger cubes, making it a great introductory puzzle for those new to cubing. It’s a fantastic option for quick solves and portable puzzling, maintaining the core challenge in a compact form.
4×4 Cube and Beyond
Stepping beyond the 3×3, the 4×4 (Rubik’s Revenge) introduces center pieces, adding a layer of complexity. Larger cubes, like the 5×5 and beyond, continue this trend, demanding advanced pattern recognition and longer algorithms. Solving these requires reducing them to a 3×3 state, then applying 3×3 methods. They present a significant challenge for experienced cubers, testing patience and problem-solving skills. These cubes offer a rewarding experience for those seeking a truly intricate puzzle.

The Mathematics of the Rubik’s Cube
The Cube’s permutations relate to group theory, exploring symmetries and structures; “God’s Number” defines the fewest moves for any scramble, a fascinating mathematical pursuit.
Group Theory and Cube Permutations
The Rubik’s Cube’s mechanics are deeply rooted in abstract algebra, specifically group theory. Each move represents an element within this group, and the cube’s state is a permutation.
Understanding these permutations allows mathematicians to analyze the cube’s possible configurations and the relationships between them. The cube’s group is vast, containing over 43 quintillion possible states!
This mathematical framework isn’t just theoretical; it’s crucial for developing efficient solving algorithms and understanding the cube’s fundamental limitations. Symmetry plays a vital role in these calculations.
God’s Number and Optimal Solutions
“God’s Number” refers to the minimum number of moves required to solve the Rubik’s Cube from any scrambled position. For decades, it was a significant mathematical pursuit.
In 2010, it was proven that God’s Number is 20 – meaning any configuration can be solved in 20 moves or fewer. This discovery involved extensive computational power and sophisticated algorithms.
Finding an optimal solution isn’t practical for humans due to the sheer complexity, but understanding God’s Number provides a theoretical limit to solving efficiency and cube manipulation.
Troubleshooting Common Problems
Sticking or popped pieces can occur, disrupting the solving process; gentle manipulation or disassembly might be needed for repair and continued enjoyment.
Stuck Pieces
Encountering stuck pieces is a common frustration for cubers, often stemming from tight mechanisms or misaligned internal components. Avoid forceful manipulation, as this can cause damage. Gently attempt to wiggle the piece free, applying pressure in various directions. If resistance persists, consider applying a silicone-based lubricant specifically designed for speedcubes.
Ensure the cube is properly aligned before applying force. Sometimes, a slight adjustment to adjacent layers can release the stuck piece. If the issue remains unresolved, consult online resources or a speedcubing community for guidance, potentially seeking disassembly instructions as a last resort.
Popped Pieces
A “popped” piece refers to a situation where a cube element detaches from its core structure, usually during vigorous turning or after a drop. Do not attempt to force the piece back in; this can worsen the problem and damage the internal mechanism. Carefully examine the piece and its corresponding slot for any visible damage or obstructions.
Refer to online tutorials demonstrating proper re-insertion techniques. Often, a specific alignment and gentle pressure are required. If you’re uncomfortable reassembling the cube, seek assistance from experienced cubers or consider professional repair services to avoid further complications.

The Future of Cubing
Innovations in cube designs and technological advancements continue to push speedcubing boundaries, promising faster solves and enhanced experiences for enthusiasts worldwide.
New Cube Designs
The world of cubing isn’t static; designers constantly innovate, moving beyond the classic 3×3. We’re seeing increasingly complex variations, like those exceeding 4×4, challenging solvers with greater permutations.
Beyond size, shapes are evolving too – think mirror cubes, axis cubes, and even cubes with unique magnetic properties. These designs offer fresh challenges and aesthetic appeal.
Smart cubes, integrating technology for solve tracking and learning, are also gaining traction, bridging the gap between physical and digital cubing experiences.
Technological Advancements in Speedcubing
Speedcubing is increasingly intertwined with technology, moving beyond just human skill. Smart cubes now record solve times and analyze movements, providing valuable data for improvement.
Software and algorithms assist in learning and practicing, offering customized training routines and move suggestions. Online platforms facilitate competitions and connect cubers globally.
Advanced timing systems with millisecond accuracy ensure fair competition, while live streaming allows audiences to witness record-breaking solves in real-time.