

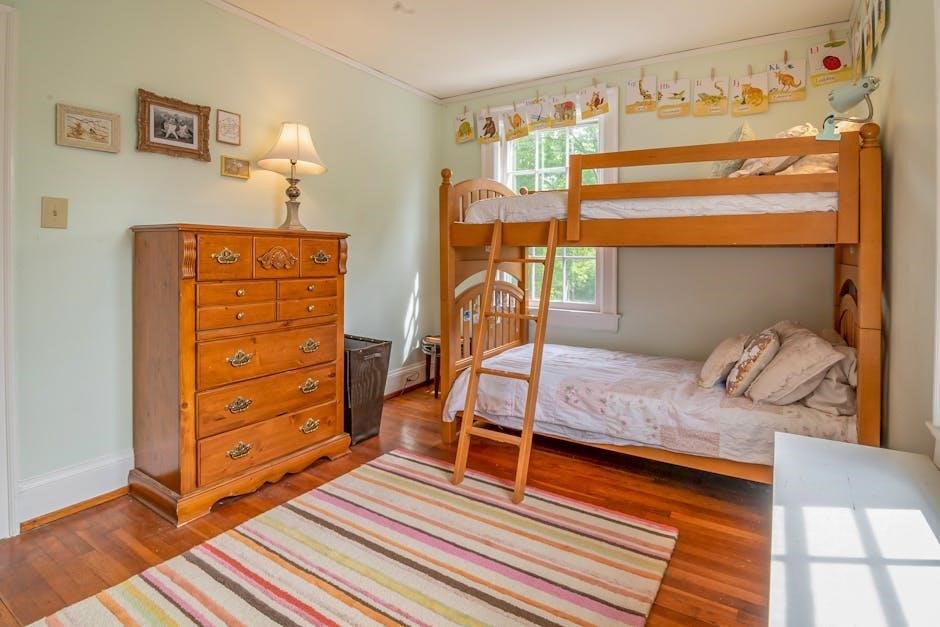
Better Homes and Gardens offers versatile 3-in-1 bunk beds, like model 17201821 (600 x 405 x H510 mm), designed for flexibility.
These multi-level units, often sourced through MULTIBOXX, can function as traditional bunk beds, loft beds, or even separate twin beds (00364 ⎻ 260 x 200 x H240 mm).
Detailed assembly guidance, including PDFs like Assembly Blocks.pdf and Auxiliary Fence.pdf, ensures a smooth setup process for this popular furniture choice.
Overview of the Brand and Product Line
Better Homes and Gardens, a widely recognized name in home furnishings, consistently delivers products focused on style, functionality, and affordability. Their bunk bed line, exemplified by the versatile model 17201821, reflects this commitment.
This particular offering is a “3-in-1” design, showcasing adaptability to evolving family needs. It’s frequently distributed through retailers like MULTIBOXX, emphasizing broad accessibility. The product line isn’t simply about beds; it’s about creating flexible spaces. Configurations include a traditional two-level bunk bed setup, a space-saving loft bed option, and the ability to separate into two individual twin beds (00364 ⎻ 260 x 200 x H240 mm).
Supporting this product range is a comprehensive suite of documentation, including detailed assembly guides and supplemental PDFs like Assembly Blocks.pdf, Auxiliary Fence.pdf, and Basic Joinery.pdf. These resources demonstrate a dedication to customer support and a streamlined assembly experience, ensuring a positive outcome for purchasers.
Safety Considerations Before Assembly
Prior to assembling your Better Homes and Gardens bunk bed (model 17201821 – 600 x 405 x H510 mm), meticulous safety checks are paramount. Ensure the chosen location provides ample space around the bed, free from obstructions like ceiling fans or protruding objects.
Review all included documentation, including the Assembly Blocks.pdf, to fully understand the construction process and identify potential hazards. Confirm you have all necessary components, referencing the parts list. It’s crucial to understand weight limits and age recommendations before allowing children to use the bunk bed.
Inspect all parts for damage before beginning. Tighten all bolts and screws regularly during and after assembly. Proper mattress selection is vital; mattresses should fit snugly within the bed frame to prevent falls. Adhering to these precautions will contribute to a safe and enjoyable bunk bed experience.

Understanding the Parts List
Better Homes and Gardens bunk beds, like model 17201821, require careful parts identification. Key components include the ladder (00363 ‒ 260 x 180 x H110 mm) and frame.
Referencing provided documentation is essential for a successful build.
Identifying All Components (Based on Model 17201821)
Successfully assembling your Better Homes and Gardens bunk bed (Model 17201821) begins with a thorough component inventory. The primary structure consists of side rails, headboards, and footboards, forming the 600 x 405 x H510 mm basic frame.
Distinctive elements include the ladder (00363 ⎻ 260 x 180 x H110 mm), crucial for accessing the upper bunk, and supporting slats that provide mattress support. Additionally, locate the guardrails, essential for safety, and any included hardware packs.
Carefully unpack all pieces and compare them against the parts list within the Assembly Blocks.pdf document. Pay close attention to subtle differences in shape and size, as these indicate specific placement. Identifying each component before starting assembly prevents frustration and ensures a structurally sound bunk bed.
Decoding the Hardware Kit (Screws, Bolts, etc.)
The hardware kit accompanying your Better Homes and Gardens bunk bed (Model 17201821) contains various fasteners, each with a specific purpose. Expect to find different screw lengths and diameters, bolts with accompanying washers and nuts, and potentially specialized connectors for the ladder (00363) and guardrails.
Refer to the parts list in the Assembly Blocks.pdf document to correctly identify each fastener. Pay attention to head types – flathead screws are often used for flush mounting, while panhead screws offer greater bearing surface.
If encountering stubborn screws, consult Battling Stubborn Screws.pdf for helpful techniques. Organizing the hardware by type before beginning assembly streamlines the process and prevents confusion. Correct hardware selection is vital for structural integrity and safety.
Using the Assembly Blocks PDF for Reference
The Assembly Blocks.pdf document (17.4KB) is your primary visual guide during the Better Homes and Gardens bunk bed (Model 17201821) assembly. It provides exploded diagrams illustrating how each component – including the frame (600 x 405 x H510 mm), ladder (00363), and potentially an auxiliary fence – connects.
Carefully study each diagram before attempting a step. The PDF details the correct orientation of parts and the sequence of fastener installation. Zoom in for clarity, especially when identifying smaller hardware like screws and bolts.
Cross-reference the diagrams with the parts list to ensure you have all necessary components. This document is crucial for understanding the basic joinery techniques and avoiding missteps during construction, ensuring a safe and stable bunk bed.
Step-by-Step Assembly Instructions
Begin by assembling the basic frame (600 x 405 x H510 mm), then securely attach the ladder (00363). Prioritize safety by installing the guardrails.
Assembling the Basic Frame (600 x 405 x H510 mm)
Commence the assembly process by carefully laying out all frame components on a protected surface to prevent scratching. Identify the headboard, footboard, and side rails, referencing the parts list to ensure accuracy.
Utilize the provided hardware kit, specifically the appropriate bolts and screws, to connect the side rails to the headboard and footboard. Ensure a snug fit, but avoid over-tightening at this stage.
Pay close attention to the orientation of the frame pieces, as incorrect placement can hinder later steps. Refer to the Basic Joinery.pdf document for detailed diagrams and techniques. Once the main rectangular frame is formed, double-check all connections for stability before proceeding.
This foundational step is crucial for the overall structural integrity of the bunk bed.
Attaching the Ladder (00363 ‒ 260 x 180 x H110 mm)
Begin by identifying the ladder components (00363) and the designated attachment points on the bunk bed frame. These points are typically pre-drilled holes located on the side rail of the upper bunk.
Align the ladder with these holes, ensuring it’s positioned securely and at a comfortable angle for climbing. Utilize the appropriate screws from the hardware kit to fasten the ladder firmly to the frame.
Double-check that all screws are tightened adequately, but avoid over-tightening, which could strip the wood. Verify the ladder’s stability by gently applying pressure to different sections.
A securely attached ladder is paramount for safe access to the upper bunk. Refer to the assembly diagrams for precise placement and fastening instructions.
Installing the Guardrails for Safety
Guardrail installation is a critical step for bunk bed safety. Locate the guardrail components and identify the corresponding mounting points on the upper bunk’s side rails.
Align the guardrails with these points, ensuring they extend along the entire length of the bunk, preventing accidental falls during sleep. Use the specified bolts and screws from the hardware kit to secure the guardrails firmly.
Confirm that the guardrails are level and provide a continuous barrier. Regularly inspect the connections to ensure they remain tight and stable over time.
Properly installed guardrails are essential for protecting children and ensuring a safe sleep environment. Always prioritize safety when assembling and using bunk beds.

Converting to Different Configurations
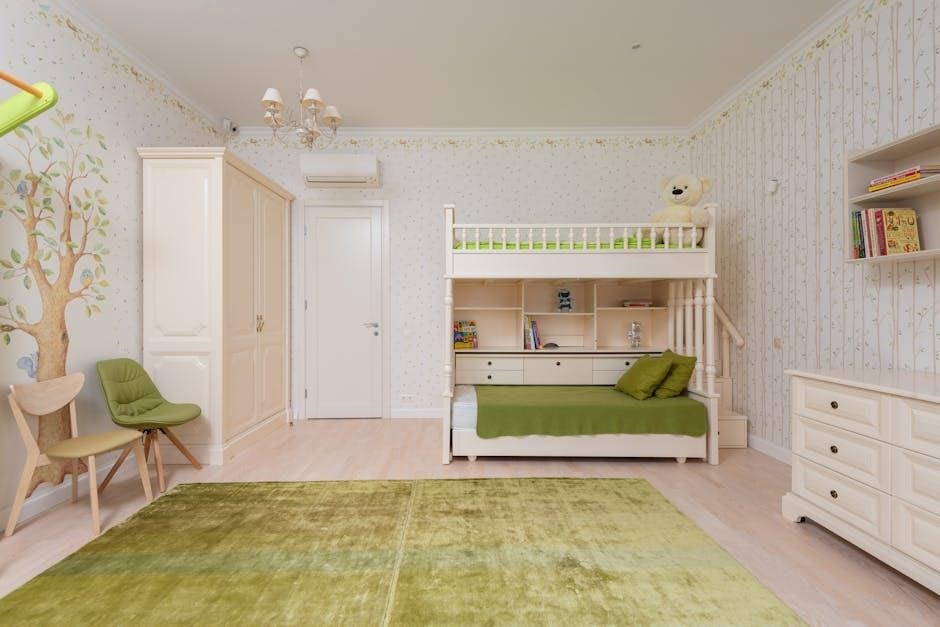
Better Homes and Gardens bunk beds offer adaptable designs, easily transforming into loft beds or separating into two individual twin beds (00364 ‒ 260 x 200 x H240 mm).
Transforming into a Loft Bed
Converting the Better Homes and Gardens bunk bed (model 17201821, 600 x 405 x H510 mm) into a loft bed configuration requires careful disassembly and reassembly, prioritizing safety throughout the process;
Begin by completely detaching the upper bunk structure from the lower bunk, ensuring all bolts and screws are removed and stored securely. The lower bunk can then be utilized as a freestanding bed or removed from the space entirely.
Next, reposition the upper bunk frame to the desired location, keeping in mind appropriate clearances for headroom and access. Securely attach the ladder (00363 ⎻ 260 x 180 x H110 mm) to the loft frame, verifying its stability before use.
Finally, double-check all connections and ensure the loft bed is level and stable before placing a mattress. Refer to the provided assembly guides, such as Basic Joinery.pdf, for detailed instructions and diagrams to ensure a safe and structurally sound loft bed setup.
Separating into Two Twin Beds (00364 ‒ 260 x 200 x H240 mm)
The Better Homes and Gardens 3-in-1 bunk bed (model 17201821) offers the flexibility to separate into two individual twin beds, each measuring 260 x 200 x H240 mm (00364). This conversion begins with a complete disassembly of the bunk bed structure.
Carefully detach the upper and lower bunk sections, removing all connecting hardware – screws, bolts, and brackets. It’s crucial to keep these components organized for potential future reassembly. Once separated, each bunk frame can be positioned as a standalone twin bed.
Ensure each bed frame is stable and level on the floor. Inspect all joints and connections, tightening any loose hardware. Refer to the Assembly Blocks.pdf for visual guidance during disassembly.
Finally, confirm the structural integrity of each twin bed before adding mattresses; This configuration maximizes bedroom space and provides independent sleeping arrangements.
Troubleshooting Common Assembly Issues
Common challenges during assembly include stubborn screws (addressed in Battling Stubborn Screws.pdf), misaligned parts, and issues with the auxiliary fence component.
Careful review of the instructions and diagrams is essential for resolving these problems efficiently.
Dealing with Stubborn Screws (Referencing Battling Stubborn Screws.pdf)
Encountering difficulty with screws during the assembly of your Better Homes and Gardens bunk bed is a common issue, and thankfully, there are solutions! The Battling Stubborn Screws.pdf document provides targeted guidance for overcoming this frustration.
Firstly, ensure you are using the correct screwdriver size and type. Applying consistent, firm pressure while turning is crucial. Avoid stripping the screw head by maintaining a straight alignment.
If a screw remains resistant, try applying a small amount of lubricant, such as wax or soap, to the threads. A manual impact driver can also be incredibly helpful in loosening stubborn fasteners.
Important Note: Do not use excessive force, as this could damage the wood or strip the screw. Refer to the PDF for visual aids and specific techniques to prevent damage and ensure a secure assembly.
Addressing Misaligned Parts
Misalignment of components can occur during bunk bed assembly, but it’s usually resolvable without significant difficulty. Before forcing parts together, carefully re-examine the assembly diagrams and ensure you’ve identified each piece correctly.
Loosen any already-secured screws or bolts in the immediate area of the misalignment. This provides flexibility to adjust the parts. Gently attempt to realign the components, applying even pressure.
If the misalignment persists, double-check that you are using the correct hardware for that specific connection. Sometimes, using a slightly longer or shorter screw can make all the difference.
Caution: Avoid excessive force, as this can damage the wood or compromise the structural integrity of the bunk bed. Patience and careful observation are key to successful alignment.
Resolving Issues with the Auxiliary Fence
The Auxiliary Fence, detailed in the Auxiliary Fence.pdf document, provides added safety and support during bunk bed use. If you encounter issues during installation, first verify you have all necessary components and hardware.
Ensure the fence is oriented correctly, referencing the diagrams in the provided PDF. Misalignment can occur if the fence is attached upside down or backwards. Loosen existing screws to allow for adjustments.
Pay close attention to the attachment points; the fence must be securely fastened to the bed frame for optimal stability. If screw holes don’t align perfectly, gently try re-positioning the fence slightly.
Important: A properly installed auxiliary fence is crucial for preventing falls. Double-check all connections before allowing anyone to use the bunk bed.
Maintenance and Care
Regularly inspect and tighten all bolts and screws to maintain the bunk bed’s stability and safety. Protect the wood finish with appropriate cleaning products.
Consistent upkeep ensures longevity and prevents potential hazards, keeping the bed secure for years of use.
Regularly Tightening Bolts and Screws
Consistent inspection and tightening of all bolts and screws are paramount for maintaining the structural integrity and, most importantly, the safety of your Better Homes and Gardens bunk bed.
Over time, with regular use and movement, these fasteners can loosen, potentially compromising the bed’s stability. It is recommended to perform a thorough check at least every three months, or more frequently if the bed is used by active children.
Pay particular attention to the connections within the basic frame (600 x 405 x H510 mm) and where the ladder (00363 ⎻ 260 x 180 x H110 mm) attaches.
If you encounter stubborn screws, referencing the Battling Stubborn Screws.pdf document can provide helpful techniques. Ensure you use the correct tools to avoid stripping the screw heads. A properly maintained bunk bed is a safe bunk bed!
Cleaning and Protecting the Wood Finish
Maintaining the wood finish of your Better Homes and Gardens bunk bed not only enhances its appearance but also protects the wood from damage and prolongs its lifespan.
Regular dusting with a soft, dry cloth is sufficient for routine cleaning. For more thorough cleaning, use a damp cloth with mild soap, ensuring you wipe in the direction of the wood grain. Avoid abrasive cleaners or harsh chemicals, as these can damage the finish.
After cleaning, dry the wood thoroughly. Consider applying a furniture polish specifically designed for wood to help restore luster and provide a protective layer.
Protecting the bed from direct sunlight and extreme temperatures will also help prevent fading and cracking. Proper care ensures your bunk bed remains a beautiful and functional piece for years to come.

Safety Guidelines for Bunk Bed Use
Prioritize safety with weight limits, age recommendations, and proper mattress selection for Better Homes and Gardens bunk beds, ensuring secure and enjoyable use.
Weight Limits and Restrictions
Understanding and adhering to weight limits is crucial for the safe operation of your Better Homes and Gardens bunk bed. While specific limits vary by model, generally, each bunk – upper and lower – should not exceed 200 pounds.
Exceeding this weight capacity compromises the structural integrity of the bed, potentially leading to instability or component failure. It’s vital to distribute weight evenly on each bunk.
Furthermore, avoid concentrating weight in one area, such as jumping or roughhousing, as this can strain the frame. Regularly inspect the bed for any signs of stress or damage, particularly after initial assembly and periodically thereafter.
Remember that the ladder (00363 ⎻ 260 x 180 x H110 mm) also has a weight limit; only one person should be on the ladder at a time. Ignoring these restrictions could result in serious injury.
Age Recommendations
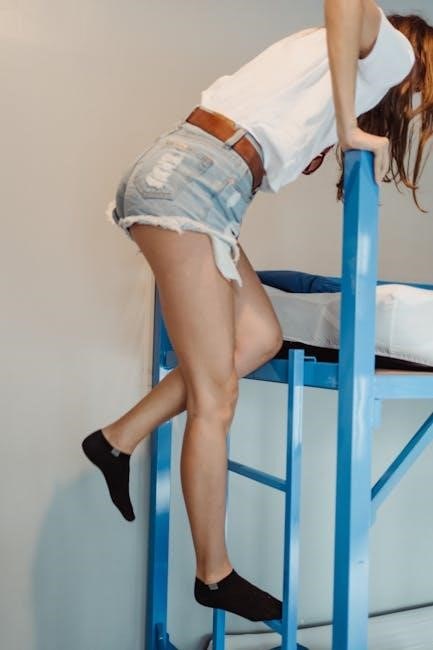
Better Homes and Gardens bunk beds are designed with safety in mind, but age recommendations are paramount for preventing accidents. The upper bunk is generally not recommended for children under six years old due to the increased risk of falls.
Younger children may lack the coordination and maturity to safely navigate the ladder and understand the boundaries of the upper bunk. A secure guardrail is essential, but it doesn’t eliminate all risk.
Consider a child’s developmental stage and physical abilities when deciding if they are ready for the upper bunk. Even for older children, establishing clear rules about safe bunk bed use is vital.
Supervision is recommended, especially during the initial transition to a bunk bed. The lower bunk (or converted twin bed ‒ 00364 ‒ 260 x 200 x H240 mm) is suitable for younger children, offering a safer sleeping option.
Proper Mattress Selection
Choosing the right mattress for your Better Homes and Gardens bunk bed is crucial for both comfort and safety. The mattress thickness must adhere to specific guidelines to ensure adequate guardrail height and prevent falls.
Generally, mattresses should not exceed 8 inches in thickness. A thinner mattress provides a greater safety margin between the top of the mattress and the guardrail. Exceeding this limit compromises the bunk bed’s safety features.
Consider the weight capacity of the bunk bed (model 17201821 ⎻ 600 x 405 x H510 mm) when selecting a mattress. A heavier mattress may strain the frame and reduce its stability.
Ensure the mattress fits snugly within the bunk bed frame, leaving no gaps where a child could become trapped. A properly fitted mattress contributes significantly to a safe and restful sleep environment.