
Singer Sewing Machine 66 Manual: A Comprehensive Guide
This manual offers detailed instructions for the Singer 66 series, including threading, bobbin winding, and tension adjustments. Digital downloads of original and reprint manuals are readily available online, aiding in machine operation and repair.
Historical Context of the Singer 66
The Singer 66, a cornerstone of domestic sewing, emerged during a period of significant industrial and social change. Introduced around 1913, as evidenced by reissue dates on original manuals like Form 8056, it quickly became a popular choice for home sewers. This machine represented a shift towards more accessible and reliable sewing technology for families.
Its design incorporated an oscillating hook, a feature contributing to its robust performance and ability to handle various fabrics. The “66” designation wasn’t singular; variations like the 66K and 66R catered to different markets and user needs. Original instruction booklets, often accompanying treadle versions, provided essential guidance for operation and basic maintenance.
The Singer 66’s longevity speaks to its quality construction and enduring design. Even today, these machines are sought after by collectors and sewing enthusiasts, demonstrating a lasting legacy within the history of sewing technology. Finding original manuals aids in understanding its intended use and proper care.
Dating Your Singer 66 Machine
Determining the age of your Singer 66 can be achieved through several identifying features. Examining the serial number, typically found on the machine’s arm, is a primary method, though comprehensive serial number charts are not universally available. Early models, like the 66-1 referenced in manuals from 1913, represent the initial production run.
Variations in model numbers – such as 66K or 66R – also offer clues. The “K” often indicates a machine designed for the UK market, while the “R” suggests a specific adaptation. The presence of a treadle versus an electric motor attachment provides another dating point, as electric motors became more common later in the machine’s production.
Original manuals, like Form 8056, can indirectly assist in dating, as reissue dates indicate a timeframe for that particular manual’s relevance. Careful observation of these details helps establish a more accurate production period for your Singer 66.
Understanding the 66 Series Variations (66, 66K, 66R)
The Singer 66 series encompasses several variations, each tailored to specific markets or applications. The standard Singer 66 was widely distributed, serving as a robust workhorse for general sewing needs. The 66K variant, denoted by the “K” suffix, was specifically manufactured for the United Kingdom market, featuring slight modifications to accommodate British standards and preferences.
The 66R model represents another distinct adaptation, though specific details regarding its unique features are less readily available in the provided resources. These variations often involve differences in the motor, electrical components, or included accessories.
Understanding these distinctions is crucial when sourcing parts or referencing manuals, as compatibility may vary between models. While core functionality remains consistent, acknowledging these nuances ensures proper maintenance and operation of your specific Singer 66 machine.
Setting Up Your Singer 66
Proper setup involves attaching either a treadle base or an electric motor, followed by careful threading and bobbin winding for optimal performance.
Attaching the Treadle or Electric Motor
The Singer 66 was originally designed for treadle operation, but readily adapted to electric motors. When mounting a treadle, ensure the sewing machine base is securely fastened to the treadle frame using the provided bolts and washers. Proper alignment is crucial for smooth operation; verify the belt runs freely without excessive slack or tightness.
For electric motor installation, a bracket specifically designed for the Singer 66 is required. This bracket typically attaches to the machine’s base with screws. Carefully align the motor pulley with the handwheel pulley, ensuring a parallel orientation to prevent belt slippage or wear. A belt guard is essential for safety, protecting operators from moving parts; Always disconnect power before making any adjustments or repairs to the motor or machine.
Consider the motor’s speed; a slower speed is often preferable for intricate work or delicate fabrics. Regularly inspect the belt for wear and tear, replacing it as needed to maintain consistent power transfer.
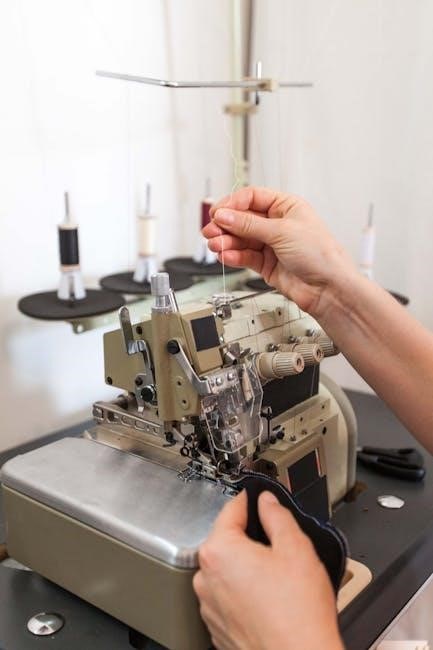
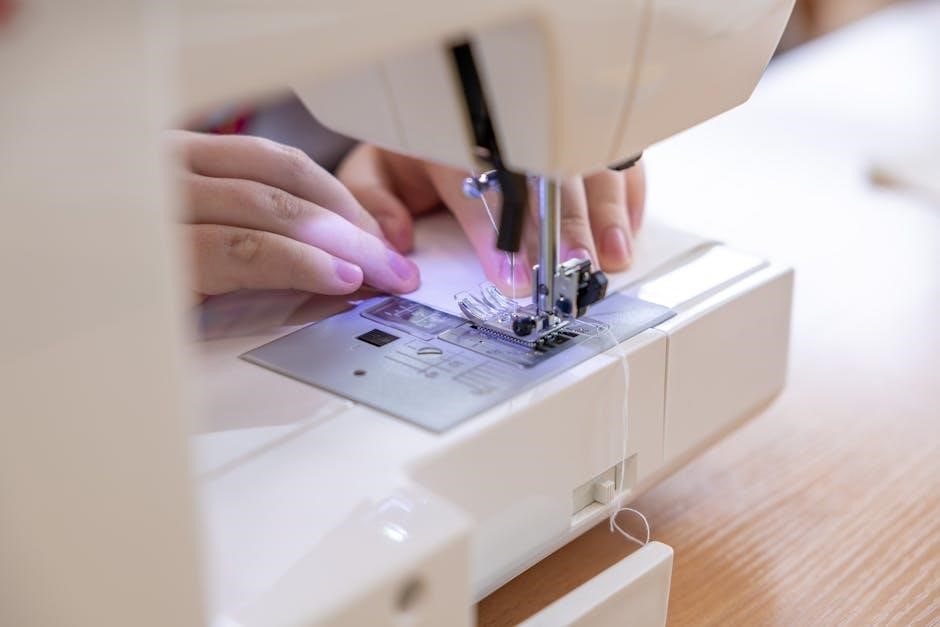
Threading the Singer 66: A Step-by-Step Guide
Begin by raising the presser foot; this opens the tension discs, allowing the thread to seat correctly. Next, guide the thread from the spool pin, around the tension discs, and down through the thread guide. Ensure the thread is firmly positioned between the tension discs for proper stitch formation.
Continue threading through the take-up lever, then down and around the bobbin winder stud (even when not winding a bobbin). After this, lead the thread through the needle bar thread guide and finally, thread the needle from front to back. Proper needle threading is vital; use a needle threader if needed.
Always pull a sufficient length of thread through the needle – approximately 3-4 inches – before beginning to sew. Incorrect threading is a common cause of poor stitch quality, so double-check each step against the manual’s diagrams.
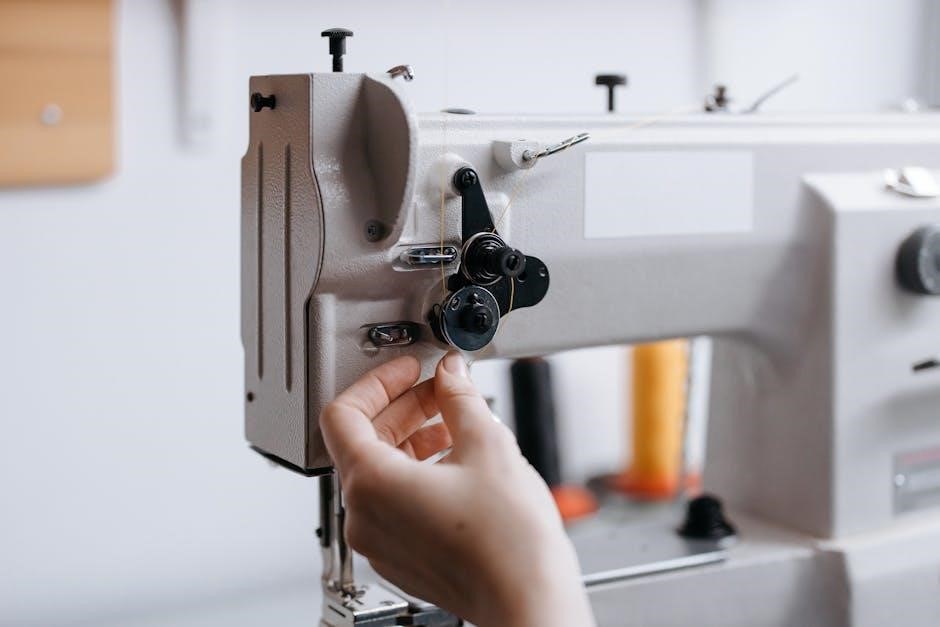
Winding the Bobbin Correctly
Begin by placing the spool of thread onto the spool pin. Then, guide the thread through the thread guide and onto the bobbin winder tension disc. Ensure the thread is securely positioned to create even tension during winding.
Next, place the bobbin onto the bobbin winder spindle and push it to the right to engage the winding mechanism. Gently depress the foot pedal to start winding. Monitor the bobbin as it fills, ensuring the thread winds evenly across the spool.
Once the bobbin is full, it will automatically stop. Cut the thread and remove the bobbin. Proper bobbin winding is crucial for consistent stitch quality; uneven winding can lead to tension issues. Refer to the manual’s illustrations for visual guidance.
Operating the Singer 66

Mastering stitch regulation, length adjustment, and tension control are key to successful sewing with the Singer 66. Utilize the reverse stitching mechanism for secure seams.
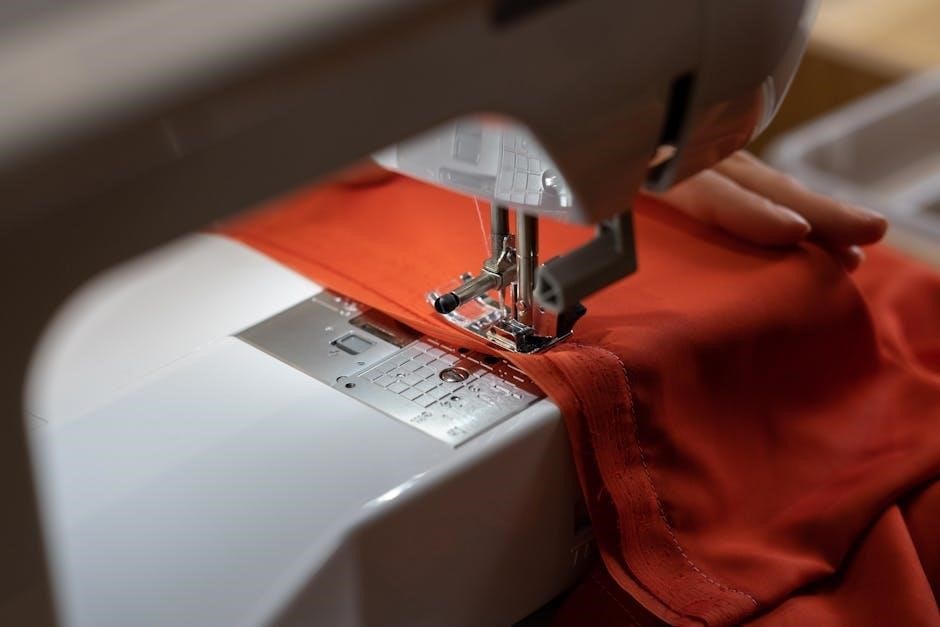
Stitch Regulation and Length Adjustment
Achieving consistent stitch quality on your Singer 66 relies heavily on understanding stitch regulation and length adjustment. The stitch length is controlled by a lever or dial, typically located on the machine’s front or right side. Experimenting with different settings is crucial; shorter stitches are ideal for delicate fabrics and intricate work, providing greater strength and detail.
Conversely, longer stitches are better suited for heavier materials or when speed is a priority. Observe how the stitch length impacts the fabric’s appearance and durability; Proper regulation ensures even feeding of the material, preventing puckering or stretching. A smooth, consistent feed is vital for professional-looking results.
Remember to adjust the stitch length based on the fabric weight and the desired aesthetic. Regularly check your stitches to confirm the settings are optimal, and don’t hesitate to make minor adjustments as needed throughout your sewing project. Practice makes perfect when mastering this essential skill!
Tension Adjustment for Optimal Stitching
Proper tension is paramount for creating balanced, professional-looking stitches on your Singer 66; Incorrect tension leads to looping, puckering, or weak seams. The upper tension dial, usually found on the machine’s head, controls the thread’s pull from the spool. Adjusting this dial impacts how tightly the upper thread interlocks with the bobbin thread.
Begin with the recommended factory setting and test stitch on a scrap of your project fabric. If the bobbin thread appears on the fabric’s surface, increase the upper tension. Conversely, if the upper thread loops loosely, decrease the tension. Small adjustments are key – a slight turn of the dial can make a significant difference.
Consider thread type and fabric weight when fine-tuning tension. Heavier threads and fabrics generally require higher tension. Consistent testing and observation are crucial for achieving optimal results. A balanced tension ensures strong, even stitches that will withstand wear and tear.
Reverse Stitching Mechanism
The Singer 66’s reverse stitching feature allows for secure back-tacking, reinforcing the beginning and end of seams to prevent unraveling. This mechanism typically involves a lever or button located near the handwheel. Engaging this control alters the machine’s timing, causing the needle to move backward with each stitch.
To utilize reverse stitching, sew forward a short distance, then depress the reverse lever while continuing to pedal. The machine will now stitch in reverse. Release the lever to return to forward stitching. Smooth transitions between forward and reverse are essential for neat back-tacking.
Regularly inspect the reverse mechanism for proper function. Ensure the lever moves freely and engages fully. Avoid prolonged reverse stitching, as it can strain the machine’s components. Proper use of this feature significantly enhances the durability and professional finish of your sewing projects.
Maintenance and Repair
Consistent oiling and cleaning are vital for the Singer 66. Addressing skipped stitches or thread breakage promptly ensures longevity and optimal performance of this classic machine.
Oiling and Lubrication Procedures
Regular lubrication is paramount for maintaining the Singer 66’s smooth operation and preventing wear. Use only Singer oil, as other oils can cause gumming and damage internal components. Begin by removing any lint or debris with a brush.
Key oiling points include the bobbin case, the shuttle race, the needle bar, and all moving parts of the treadle or motor connection. Apply a small drop of oil to each point, ensuring it penetrates the mechanism. Avoid over-oiling, as excess oil attracts dust.
Specifically, the oscillating hook requires careful attention. Oil the hook itself and the surrounding area. After oiling, operate the machine slowly by hand to distribute the lubricant evenly. Periodic cleaning combined with proper oiling will significantly extend the life of your Singer 66, ensuring years of reliable service. Remember to wipe away any excess oil after operation.
Cleaning Your Singer 66
Consistent cleaning is crucial for optimal performance and longevity of your Singer 66. Begin by disconnecting the power source or removing the machine from the treadle. Use a soft brush – a toothbrush works well – to remove lint and dust from the bobbin area, feed dogs, and surrounding mechanisms.
A small vacuum cleaner with a brush attachment can also be effective for removing debris from hard-to-reach areas. For stubborn grime, a slightly dampened cloth (with water only!) can be used, ensuring the machine is thoroughly dried afterward.
Avoid using harsh chemicals or solvents, as these can damage the finish and internal parts. Pay particular attention to cleaning around the needle bar and shuttle hook. Regular cleaning, combined with proper oiling, will keep your Singer 66 running smoothly and prevent potential malfunctions. A clean machine is a happy machine!
Troubleshooting Common Issues (Skipped Stitches, Thread Breakage)
Skipped stitches often indicate a problem with the needle – ensure it’s correctly inserted, the right type for the fabric, and not bent or damaged. Re-threading the machine, both the upper and lower threads, is a good first step. Check the timing of the machine; a misalignment can cause skipped stitches.
Thread breakage frequently stems from incorrect tension. Adjust the tension dial incrementally until the stitching is balanced. Also, verify the thread path is clear of obstructions and that you’re using quality thread. A burr on the shuttle hook or needle plate can also cause breaks – inspect these carefully.
Consistent issues may require professional servicing. Remember to always consult your manual for specific guidance related to the Singer 66 series.
Attachments and Accessories
Numerous feet were available for the Singer 66, expanding its capabilities. Locating replacements can be done through specialized vintage sewing machine parts suppliers and online marketplaces.

Available Feet and Their Uses
The Singer 66 boasted a versatile range of presser feet, significantly expanding its sewing capabilities beyond basic straight stitching. A standard foot was, of course, included, ideal for everyday sewing tasks. However, specialized feet unlocked more complex techniques. The hemmer foot facilitated neat and consistent rolled hems, while the narrow hemmer foot created delicate, fine hems perfect for lingerie or lightweight fabrics.
For decorative work, a ruffler foot allowed for the creation of beautiful ruffles and gathers, adding texture and dimension to garments. A binder foot simplified the process of applying bias tape, ensuring professional-looking finishes. The edge stitching foot proved invaluable for precise edge stitching, enhancing the durability and appearance of seams. Furthermore, a darning foot aided in repairing holes and worn areas in fabric, extending the life of cherished items. Understanding the purpose of each foot allowed users to maximize the Singer 66’s potential and achieve professional results.
Understanding and Using Additional Attachments
Beyond presser feet, the Singer 66 benefited from a selection of attachments designed to broaden its functionality. These included various guides for quilting and embroidery, enabling intricate designs and patterns. A marking gauge assisted in precise fabric measurements, crucial for accurate cutting and sewing. The edge guide ensured consistent seam allowances, resulting in professional-quality finishes.
Specialized attachments like the lace roller and shirring attachment opened up possibilities for creating decorative details and textured fabrics. The automatic backstitch attachment simplified the process of creating reinforced seams. Proper installation and adjustment of these attachments were key to achieving optimal results. Instruction manuals detailed the specific usage of each attachment, guiding users through the process. Exploring these additional tools unlocked the Singer 66’s full creative potential, allowing for a wider range of sewing projects.
Locating Replacement Parts
Maintaining a Singer 66 often requires sourcing replacement parts over time. Fortunately, a robust network exists for vintage Singer components. Online marketplaces, such as eBay and Etsy, frequently list original and reproduction parts, including bobbins, needles, and presser feet. Specialized vintage sewing machine retailers also offer a curated selection of 66-specific parts.
Identifying the correct part number is crucial for a successful replacement. Original manuals and parts lists are invaluable resources for this purpose. When purchasing, consider the part’s condition and the seller’s reputation. Local sewing machine repair shops may also stock common parts or be able to order them. Patience and diligent searching are often required, but preserving the functionality of a Singer 66 is a rewarding endeavor. Careful restoration ensures this classic machine continues to operate for generations.